
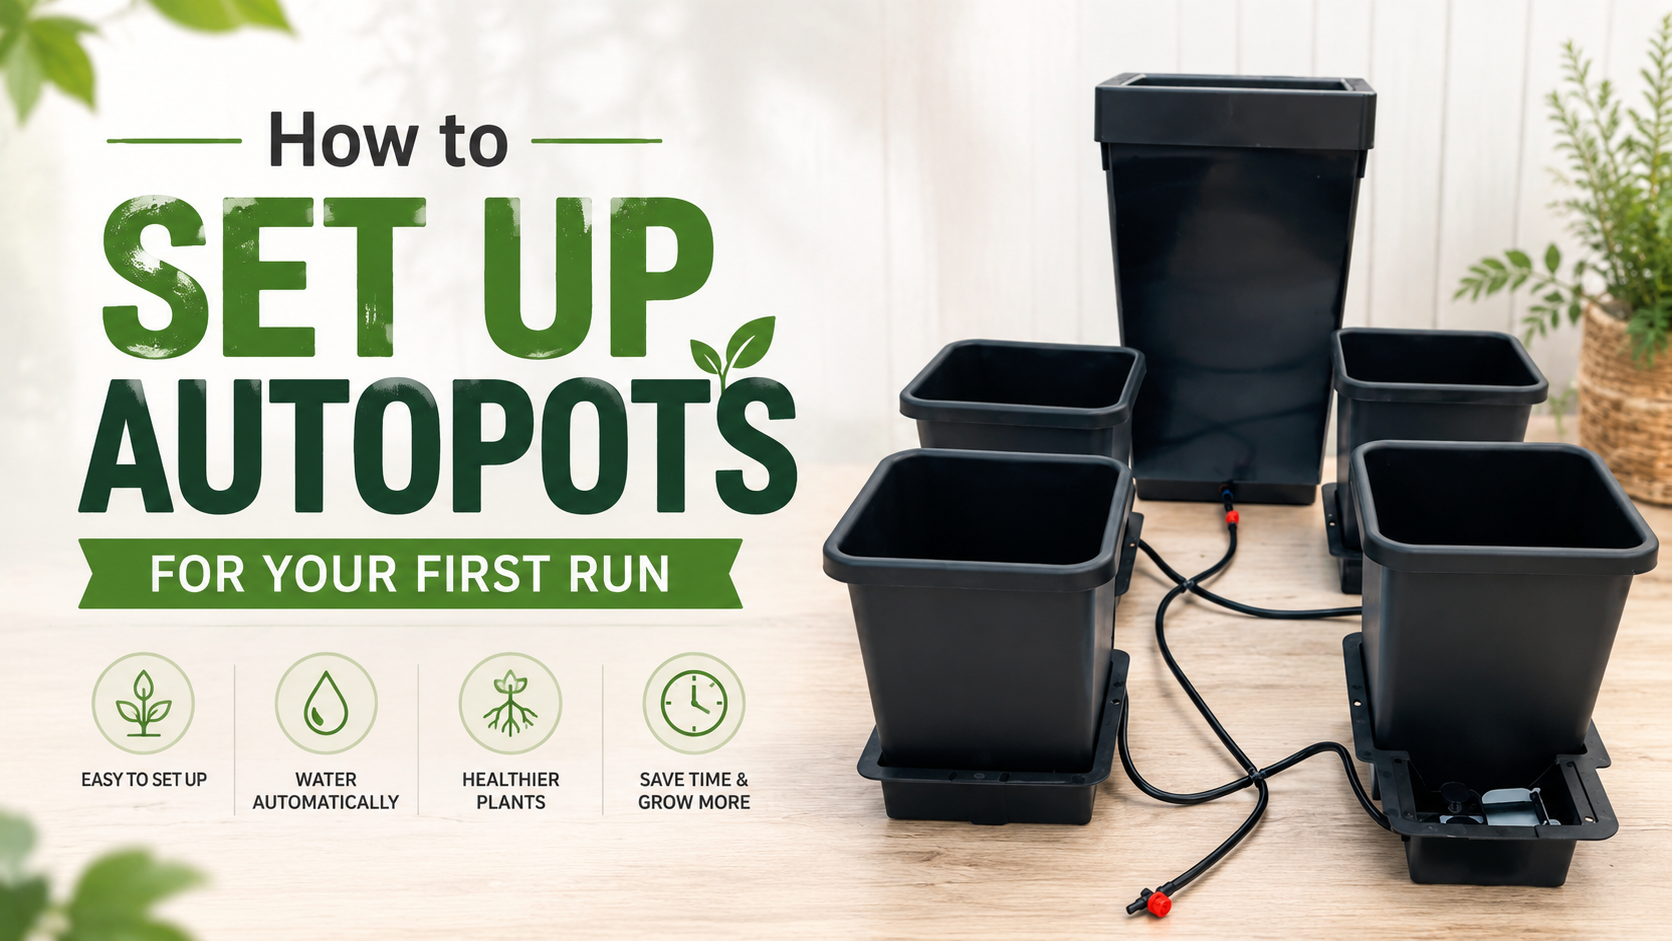
How to Set Up AutoPot for Your First Run
AutoPot's appeal is real: no pumps, no timers, no electricity, and a watering system that responds directly to what your plants drink. But the first run trips up more growers than it should, usually because a few specific setup steps get skipped or done out of order. Get reservoir height, growing medium, and the initial hand-watering window right and the system runs itself from there. Miss any of them and you'll spend the first week wondering why the AQUAvalve isn't behaving.
Why You Hand-Water for the First 7 to 10 Days
AutoPot is a sub-irrigation system: solution wicks upward from the tray through your growing medium to the roots. That wicking action only works once roots have grown down close enough to the tray to pull moisture up. A freshly transplanted seedling or a young clone doesn't have that root depth yet, so if you connect the reservoir on day one and let the AQUAvalve fill the tray, the water sits there and doesn't reach the plant. Wet tray, dry rootball. That's the most common first-run failure.
Hand-water from the top for the first 7 to 10 days after transplant, or until the plant is roughly 8 inches tall with multiple sets of true leaves and a visibly developed root system. Keep the AQUAvalve disconnected during this window. Once roots are established and capillary wicking is working, connect the reservoir and let the valve take over. After that, don't top-water again unless you're doing a full flush. The system manages the wet/dry cycle on its own.
Reservoir Height: the Spec That Trips Up Most First-Timers
The AQUAvalve5 is gravity-fed only, with no pump to compensate for a low reservoir. AutoPot specifies a minimum of 6 inches of elevation between the base of the reservoir and the top of the highest AQUAvalve in the system. Drop below that and flow slows or stops entirely, meaning trays don't refill between cycles and plants go without. In a single-level setup this is simple: set the reservoir on a shelf or a milk crate. In a multi-level rack where some pots sit higher than others, measure from the reservoir outlet down to the highest AQUAvalve and confirm you have at least those 6 inches of head pressure at that point.
The AQUAvalve5 uses a 5mm inlet, 66% larger than the previous version, which handles a wider range of nutrient solution viscosities without clogging. But it still depends on that gravity head to open and close correctly. If trays are refilling slowly or only partially, reservoir height is the first variable to check before anything else.
Which Growing Medium Works in AutoPot
AutoPot depends on capillary action, so the medium has to wick moisture upward reliably while keeping enough air space to oxygenate roots. The most consistent combination is coco coir with 30 to 40% perlite by volume. That ratio wicks well and drains fast enough that roots don't sit in saturated medium between cycles. Pure coco wicks strongly but compacts over time and can hold too much moisture. Pure perlite drains too fast to wick at all.
Living or amended soil can work in AutoPot, but the dry-back behavior shifts compared to coco because decomposing organics hold moisture longer and reduce the clear dry phase between fills. If you're running living soil in AutoPot, add extra perlite, 30% or more, to keep drainage and wicking from getting sluggish. Heavy peat-based mixes with little or no perlite are a poor fit and tend to stay wet at the bottom while the top dries out, which is the opposite of what you want.
Rockwool and expanded clay are not suitable as primary media in an AutoPot pot. They're designed for flood-and-drain or drip systems where solution actively flows through, not for bottom-up wicking.
AutoPot 1Pot Systems, 1 to 100 Pots
Each pot runs its own AQUAvalve5 and tray, so every plant controls its own wet/dry cycle independently even when sharing a single reservoir. Best fit for tents from 2x2 to 4x4 and for growers who want to start with one or two pots and expand later without replacing any hardware.
See AutoPot 1Pot at Happy HydroHow to Size Your System to Your Space
AutoPot sells systems by pot count and pot volume, and the right combination depends on how many plants you're running and how much root space each needs. A 2x2 tent fits one 3.9-gallon pot or two 2.2-gallon pots comfortably. A 4x4 fits four 3.9-gallon pots. One of the system's strengths is expandability: start with a single pot and add up to 100 pots to the same reservoir using tee connectors, without replacing any of the core hardware.
For larger plants in a 4x4 or bigger, or for growers running fabric pots, the XXL systems are designed around more root volume per plant. The AQUAvalve5 and the gravity-fed mechanism are the same; the difference is pot geometry and how much medium each plant gets. If you're running a long veg or training plants to fill a large canopy, the extra capacity matters.
AutoPot XXL Self-Watering Systems
Built for large fabric pots and growers who need more root volume per plant. Same AQUAvalve5 mechanism, same gravity-fed setup, more medium capacity per module. Best for 4x4 and larger tents where plants run longer veg cycles or need more room to develop before flower.
See AutoPot XXL at Happy HydroWhat Normal Operation Looks Like Once You're Running
Once the system is going, the AQUAvalve fills the tray to approximately 35mm and closes. The plant draws the solution down, the medium dries partially, the valve opens again. That cycle repeats automatically, and its frequency is set by the plant, not a schedule. In warm, high-VPD conditions plants drink faster and the cycle runs more often. In cooler or lower-light conditions it slows. You don't adjust anything; you watch the reservoir level drop over time as confirmation that plants are drinking.
Keep the reservoir lid on or covered to block light and slow algae growth. Check the inline filter every few weeks and rinse it if flow seems slower than usual. Beyond that, the system is low-maintenance once it's dialed in, which is the whole point.
Hand-water from the top for 7 to 10 days after transplant before connecting the reservoir. Raise the reservoir at least 6 inches above the highest AQUAvalve. Use coco coir with 30 to 40% perlite. After that, the AQUAvalve runs on plant demand and you mostly leave it alone. The setup mistakes that sink a first run are all avoidable on day one if you know to look for them.